Pinterest

For unique Bridal and Prom Accessories click on my website below:

Pages

Search This Blog

Showing posts with label Fabric. Show all posts

Tuesday, September 25

Sid the hairy Scrap Slug, (tutorial)

You know how I hate to throw anything away?
Well, I was wondering what to do with the left over fabric from the sweatshirts I cut up the other day to make my cozy collar with...
there were loads of scraps from cutting out all of those circles!
I was left with the pile of scraps and some arms - I came up with this idea - 
he will probably get put away for someone for Christmas.
Meet Sid the hairy Scrap Slug...

Sid
The cat brought a slug in the other day and left it in the kitchen for me.
He was the usual, slimy type that make me shiver, 
not nice and cuddly like Sid the scrap slug.
Sid was born in my fabric cupboard, and there is nothing he enjoys more than a bit of scrap bathing (just lying about in the scraps).
He also enjoys a good game of monopoly and windsurfing at weekends.
If you made my cozy collar, and you too, now have loads of scraps - here's how you can make your own slug...

Cut slits along one of the arms

Thread the scraps through the slits and secure with a stitch or two
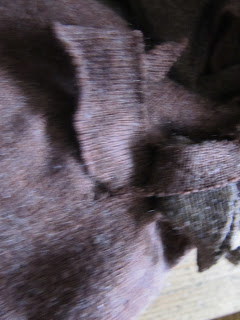
The more scraps you add, the hairier your slug will be
You should end up with something like this...

Turn your slug inside out and cut to the size you want him to be, tapering the edge into a tail

I stitched this seam with the sewing machine - but you can also stitch it by hand.

Then turn back to the right side, stuff well with stuffing (or more scraps),
turn his mouth under and stitch to secure.
Add two buttons for eyes and you're done!
If you are making this for a child under 3 you will need to stitch on the eyes instead of buttons to avoid a choking hazard.
Happy slug making!


Friday, August 17

Kindle Vs Good Old Fashioned Book...

Whilst the Kindle is lightweight and can hold hundreds of books in a tiny space - it still doesn't do it for me.
I like the hunt for a good book through all the secondhand shops...
and the pure joy when you find one you've been hunting out for ages.

I think if I did give in to a kindle - I would also have to read the conventional way too...
besides, I think I'd miss holding the book, turning the pages... and how do you cosy up by the fire with a Kindle - it just doesn't sound right!

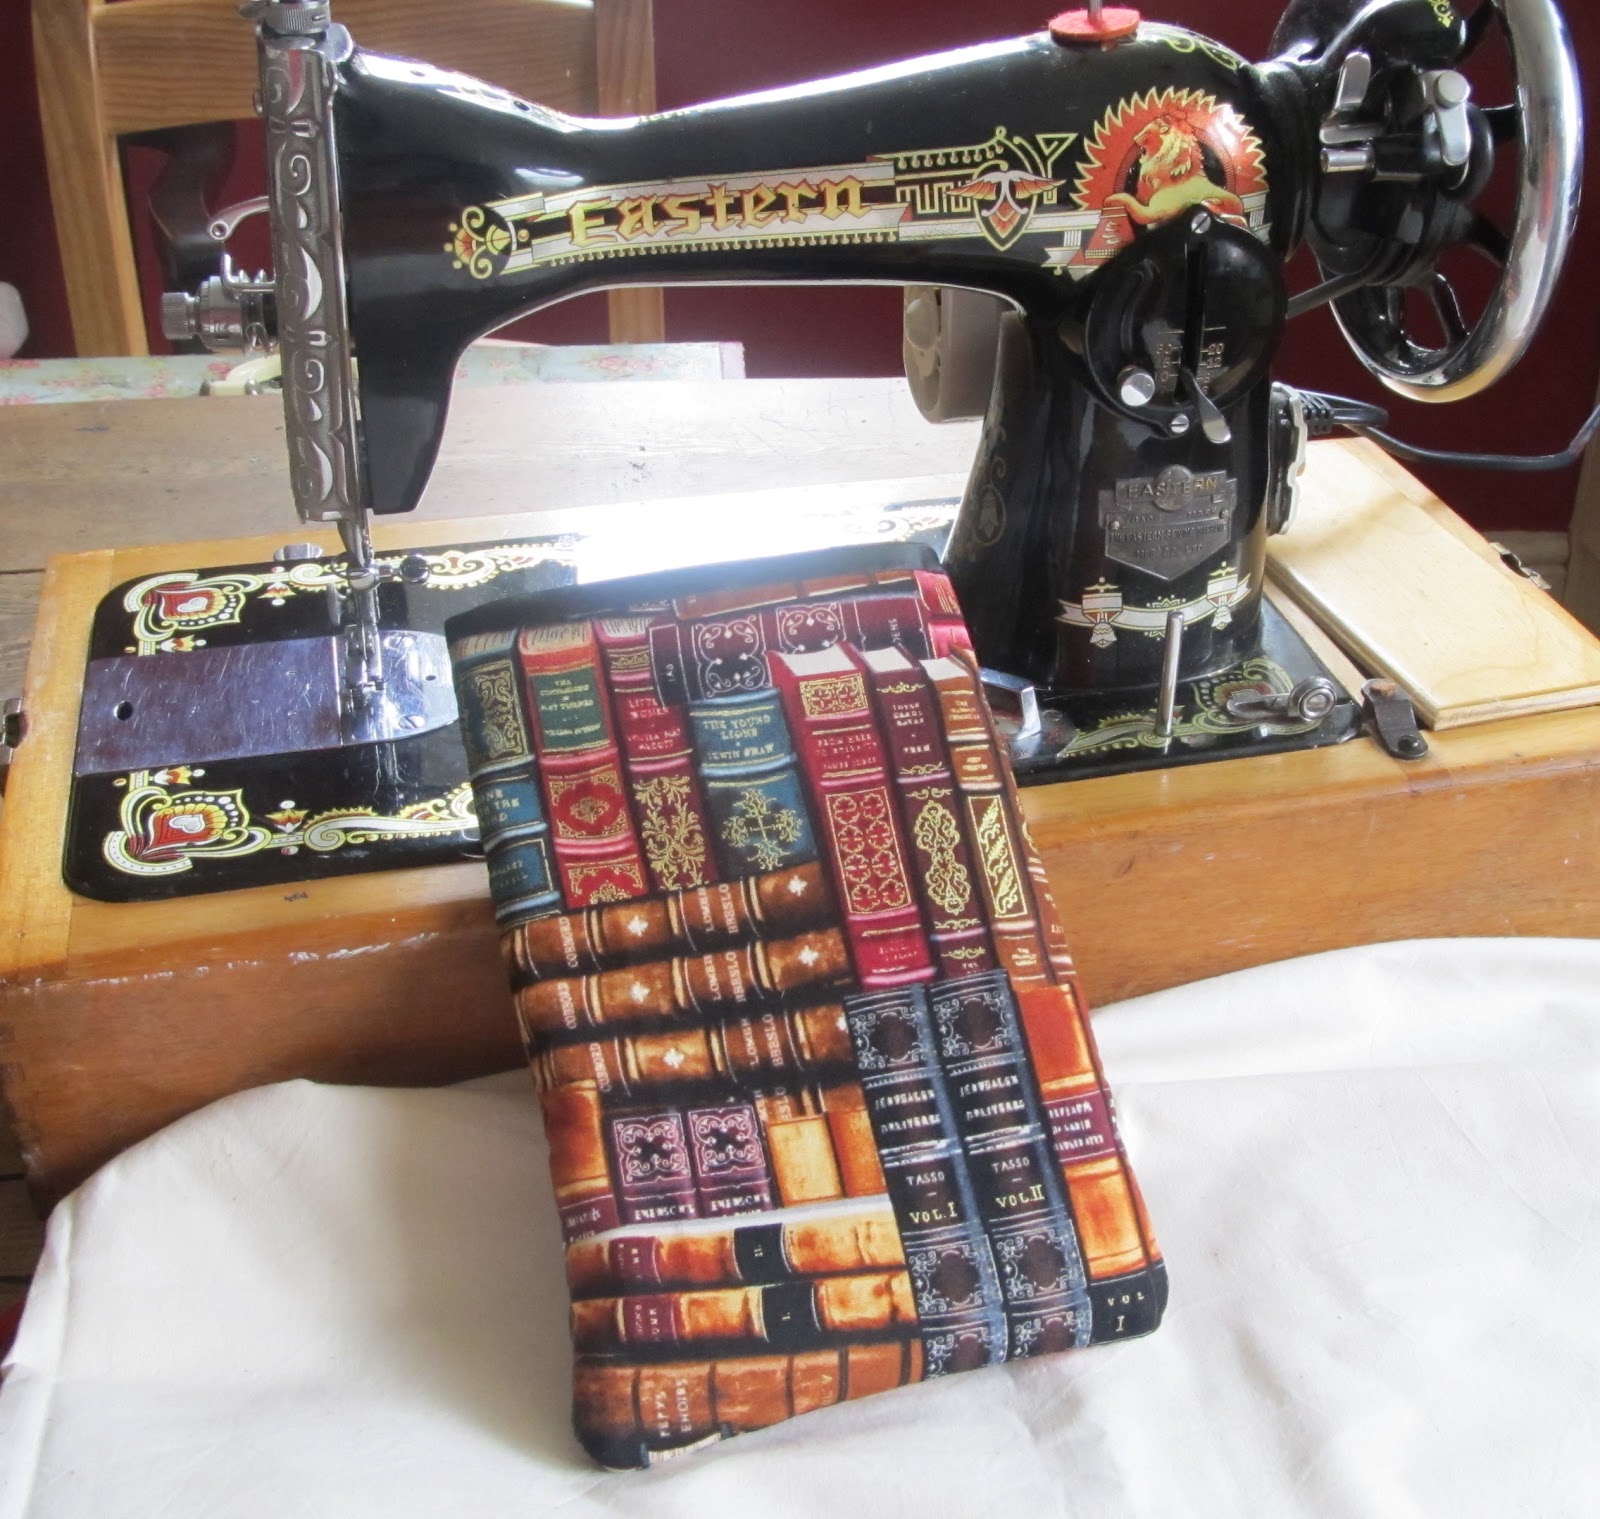
Anyway, as plenty of people have them (and not being one for missing an opportunity!), I've decided to make some holders for them. 
Glorious Gloria and I made this one today...
Glorious Gloria, showing off her new make

It is the first one we've made - a prototype which I shall probably give to one of my family or freinds as it's not quite perfect enough to sell.
(Mr Harry Grimwood is very strict in quality control).
I really want to have a go at making one from an old book too, by carving out a shape in the pages for the Kindle - just not sure if I can justify cutting up a book!!!
What do you think? Are you a Kindler or traditionalist??!!!

Monday, November 28


Festive Button Wreath Tutorial

You will need:         Felt/Fabric scraps,  beads, buttons, florist wire, ribbon


Cut your scraps of felt into small pieces (about 1.5cms/  ½”) with pinking shears

Twist the end of the wire into a small hoop to stop the beads etc falling off,  and  thread the wire through felt pieces, buttons and beads, leaving about  5cms/ 2½” of bare wire.
 Put the bare wire through the hoop, twist to fasten and  hook over


Add   a pretty bow and hang!


Sunday, November 6

Vintage Treasures!!!

Visited a car boot sale yesterday and picked up some truly beautiful pieces. I bought some items from a lady whose mother and father had both worked as lace makers in Nottingham... facinating stories... and it was nice to get a little history to the pieces that I bought from her.
I think my favourite find would have to be the stunning, delicate, golden coloured lace, that looks as though it was once part of either a Victorian wedding dress or christening robe.
Now I have to think of something to make from it that will show off its beauty...still thinking!!

Monday, October 31

Note Book Upcycling!


I've been busy making some notebook covers for a craft fair I am doing on December 3rd at The Methodist Church, High Street, Lincoln. It's on the same day as the Lincoln Christmas Fair - if you've never been, I highly recommend it. If you are able to, take the long walk up Steep Hill, many of the shops and houses sell mulled wine and hot chocolate laced with brandy to make the climb up the cobbled hill more bearable! Hopefully, the beautiful vintage carousel will still be there too.
Anyway... back to the notebooks...
You will need:
  • A hardback notebook
  • Fabric remnants - (I've covered some in vintage embroidered napkins, tablecloths, curtains, shirts etc. Cotton is probably the easiest to work with as it is not too bulky)
  • Pins
  • Sewing machine or willing hands!
  • Thread
  • Scissors
  • Rule
  • Buttons, card toppers, stickers, jewellery etc to embellish

Take your notebook and lay it flat onto two pieces of fabric. 
Measure a rectangle around the book, allowing for a 1cm seam allowance all the way around and then also add on 5cms for each flap that will fold in to hold the notebook in place.
Save the trimming scraps, either to make a decoration for the front of your notebook holder or for stuffing another project.
Cut the two pieces of fabric, place their right sides together and pin them together.
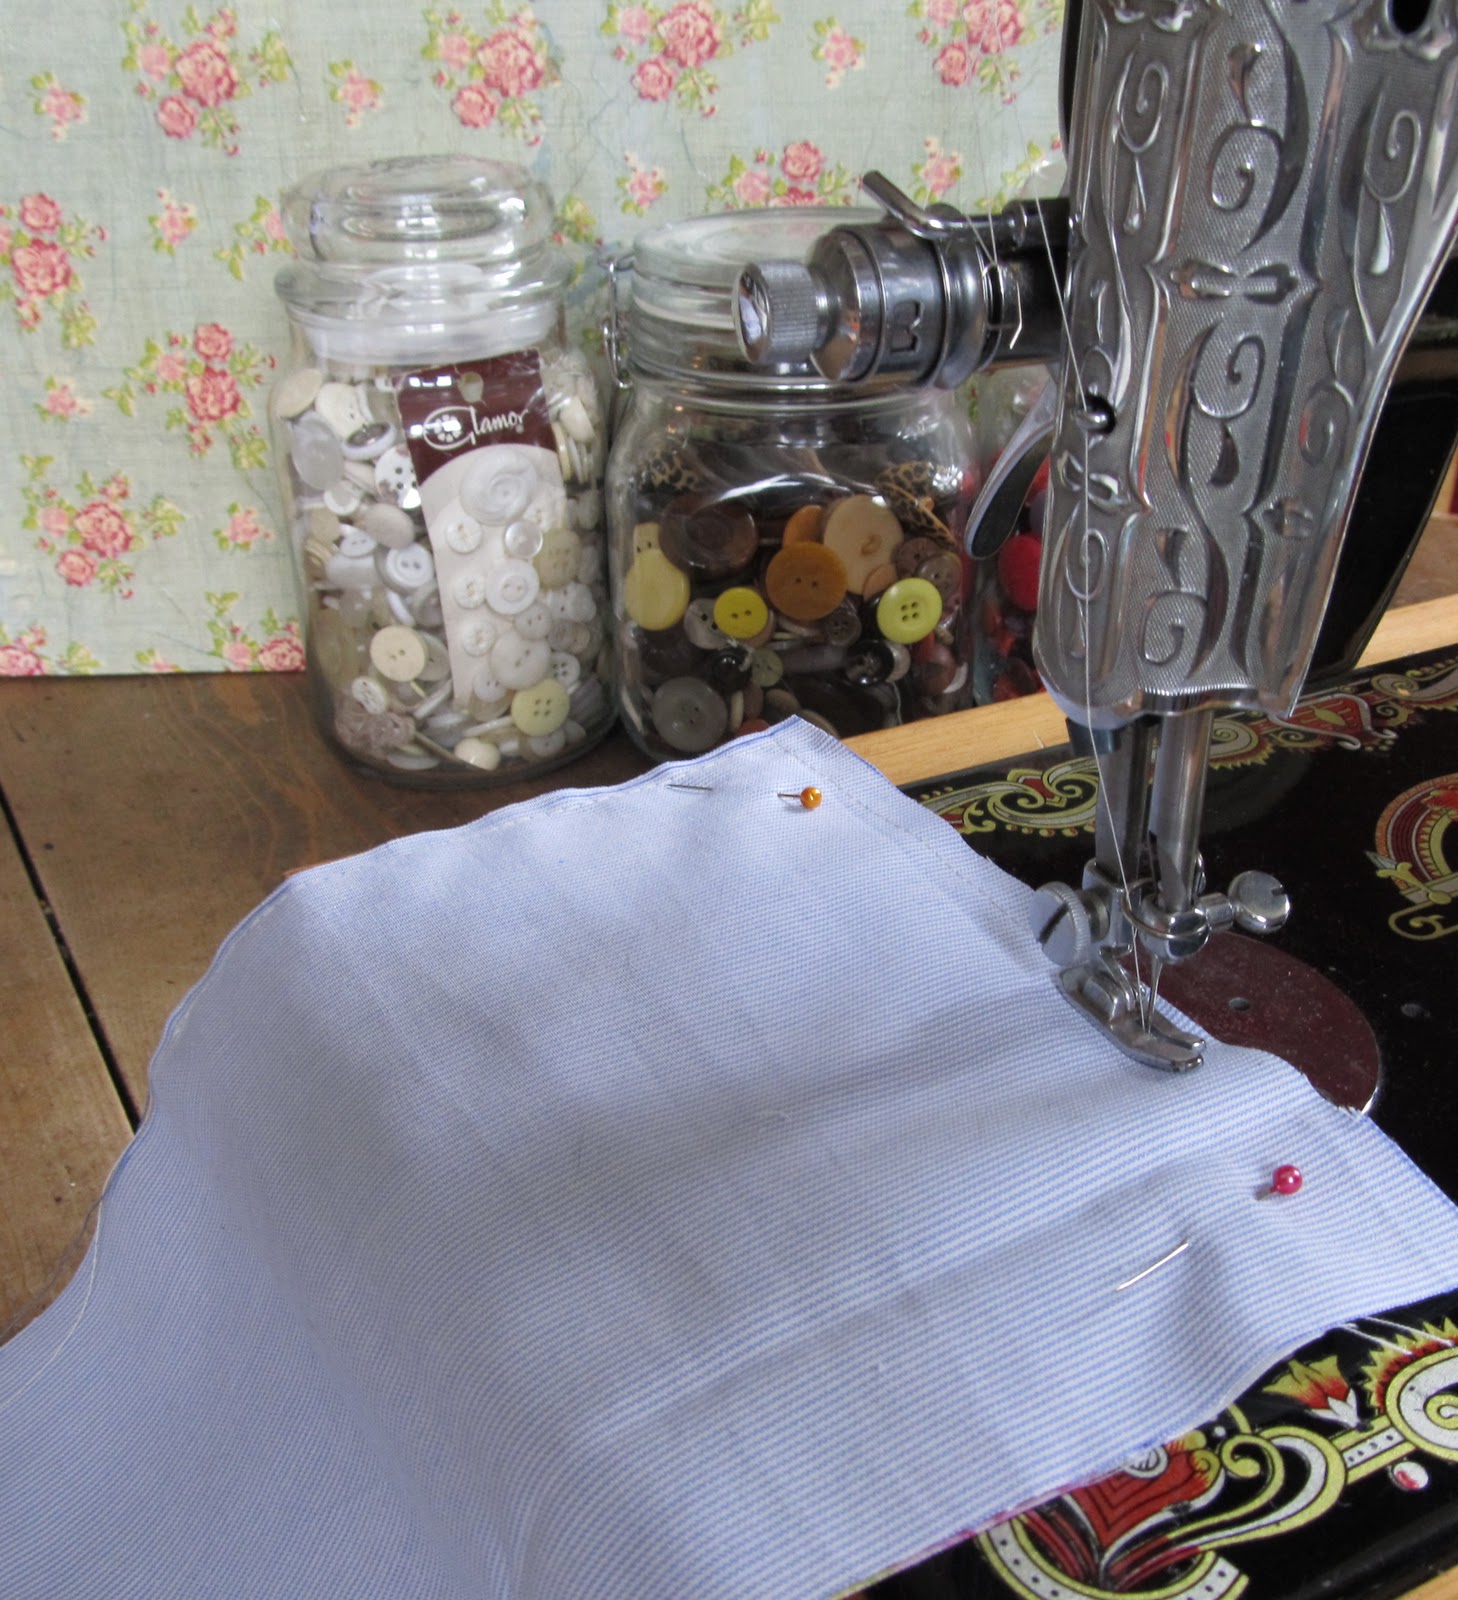
Using either your sewing machine or hand stitch them together, leaving a gap in the middle, on the bottom edge of about 6cms.  

Turn the fabric right side out and press with an iron. Trim off any excess fabric and use chopsticks or a pencil to push the corners right out to get a nice sharp, crisp corner. Hand stitch the gap together. 


Place the notebook in the centre of the fabric, and fold both flaps in. Make sure that you leave a little space for the book to "breathe", by closing the notebook and checking that the fabric is not too tight.

Pin each flap to secure, and carefully remove the notebook.
Sew the flaps at the top and bottom of the cover. Y0ou can either do this by hand as in the picture below or stitch on the machine around the rectangular shape as close to the edge as possible (the brown ones at the top of this post, are made in this way).


Now comes the fun part! Raid your button tin and hunt out some buttons of similar or contrasting colours to your fabric.

Have a play! Try out some different designs with your buttons/buckles/charms/ribbons/beads etc, until you are happy with the design and stitch or glue in place.


  1. Pop the cover over your notebook and you're done!
The possibilities with this project are endless. Experiment with different fabrics: silks, tweeds, shrunken jumpers, sacking etc... etc... Add personalised embellishments such as charms, buttons, badges, etc and create a unique personalised gift for someone.

Sunday, May 9

Sunny, Button, Heaven!

I have thousands of buttons (many of which I could never part with). My husband thinks I am a little OCD with my buttons as they are "catagorised and filed" in accordance with colour, shape and age!
OK. a little obsessive, I admit... but at least I know where they all are when I want to make a button necklace


He took this photo of me in our sunny, button, heaven, garden!

To make your own button necklace, you will need:


  • an assortment of buttons, new, vintage and fabric covered

  • necklace/choker wire with catch

  • florists wire (the finer the better, but strong enough to take a good yank!)


Firstly, lay your choker wire onto a flat surface and play around with the buttons. Decide whether your necklace is going to be a symmetrical or a random lay out. Play around with the buttons until you find the design you like best.


Using the florist wire as thread, "sew" one button onto another and then onto another etc to produce a "stack".

Then taking some more florist wire attach the button to the wire and twist the wire onto the band to where the middle of the next button will lay.
Now you can either use what wire is left to "sew" on the next button or twist a new piece of florist wire to the remaining wire and use that. Repeat this process, until you have all your buttons on the wire. (Use a pair of pliers to squeeze tight, any loose wires that are causing buttons to fall forward, and to turn in any sharp edges towards the buttons back).


I used Cath Kidston Fabric covered buttons in this necklace. You can buy the self cover buttons and cover them with a fabric of your choice.

Voila! Lovvvvvvvvverrrrrly vintage button necklace - a unique piece of jewellery to treasure.

If you can't make one yourself, and can't live without one... you can find them in my Folksy Shop at www.folksy.com/shops/AnnieFloribunda


Monday, March 1

Tea, Cake & Crafts - my idea of heaven!


As discussed on a "Folksy" forum, I have decided to open up my home (in Sleaford Lincolnshire) for a day on March 22nd, for tea, cake and crafts.
You can drop in anytime between 10am and 4pm - bring what you are making at the moment too as it will be a good time to exchange craft ideas - I will also be swapping/selling small packets of buttons/fabrics/etc so if you have anything to add to the sale/swap table bring that too. Should be a good fun, informal day, for everyone interested in crafts (doesn't have to be sewing). I know that five people are interested in coming already so if you are going to come along too and join us then please leave a comment and I will email you directions etc.

Tuesday, July 14

Japanese - Matryoshka Dolls Fabric


OK, I gave in - and bought some from Folksy.com ! But only after I'd sold a few pieces from my own fabric stash to pay for it. Don't feel so bad splashing out on it now. Am going to make small lavender dolls and brooches from it when it arrives. Can't wait!