Pinterest

For unique Bridal and Prom Accessories click on my website below:

Pages

Search This Blog

Showing posts with label recycle. Show all posts

Sunday, July 27

Reels and reels of ribbons!

I've recently got quite into "all things ribbony"! 

I have a huge box full of different colours shapes and sizes that I really must use up and so have been looking at different wedding ideas with ribbons. 

I've recently made a ribbon wall and ribbon bouquet with streamers. 
I've used scraps of ribbons to recycle glass jars into vases and lanterns - an easy project which has an amazing impact when lots of them are used together.
Here's some pic's of ways I've used ribbons at weddings...
and also some pics that I've pinched from Pinterest on projects to do...


Decorate glass jars with remnants of lace and ribbon for 
a pretty vintage effect


Ribbon walls are becoming more and more popular in the UK -
excellent for outside or festival themed weddings as well as a good cover up for
unsightly wallpaper etc. or just to add a fun backdrop to a photo wall! 
Be warned though - to make a successful one you will need about 200 meters of ribbon!!

Just a simple contrasting ribbon on a satin chair sash makes a 
clean and simple statement


Thread a garland with ribbon or lace as an alternative to string or cord. 


I love this use of ribbons, to add accent colour to a satin table runner.


Ribbon posy with streamers in "Festival Brights"

... and thanks to Pinterest... 
I now have 101 ideas to try in the future, including ...

Ribbon balloons

Ribbon Ceiling

ribbon ombre chair decs

ribbon chandeliers

ribbon cones

ribbon wands

For more ribbon ideas - take a look at our facebook page


Tuesday, September 25

Sid the hairy Scrap Slug, (tutorial)

You know how I hate to throw anything away?
Well, I was wondering what to do with the left over fabric from the sweatshirts I cut up the other day to make my cozy collar with...
there were loads of scraps from cutting out all of those circles!
I was left with the pile of scraps and some arms - I came up with this idea - 
he will probably get put away for someone for Christmas.
Meet Sid the hairy Scrap Slug...

Sid
The cat brought a slug in the other day and left it in the kitchen for me.
He was the usual, slimy type that make me shiver, 
not nice and cuddly like Sid the scrap slug.
Sid was born in my fabric cupboard, and there is nothing he enjoys more than a bit of scrap bathing (just lying about in the scraps).
He also enjoys a good game of monopoly and windsurfing at weekends.
If you made my cozy collar, and you too, now have loads of scraps - here's how you can make your own slug...

Cut slits along one of the arms

Thread the scraps through the slits and secure with a stitch or two

The more scraps you add, the hairier your slug will be
You should end up with something like this...

Turn your slug inside out and cut to the size you want him to be, tapering the edge into a tail

I stitched this seam with the sewing machine - but you can also stitch it by hand.

Then turn back to the right side, stuff well with stuffing (or more scraps),
turn his mouth under and stitch to secure.
Add two buttons for eyes and you're done!
If you are making this for a child under 3 you will need to stitch on the eyes instead of buttons to avoid a choking hazard.
Happy slug making!


Monday, November 28


Festive Button Wreath Tutorial

You will need:         Felt/Fabric scraps,  beads, buttons, florist wire, ribbon


Cut your scraps of felt into small pieces (about 1.5cms/  ½”) with pinking shears

Twist the end of the wire into a small hoop to stop the beads etc falling off,  and  thread the wire through felt pieces, buttons and beads, leaving about  5cms/ 2½” of bare wire.
 Put the bare wire through the hoop, twist to fasten and  hook over


Add   a pretty bow and hang!


Wednesday, November 16

Reinvent, Revamp, Reuse, Recycle!!!!

How Oswald the owl doorstop evolved!
I am addicted... to my supermarkets new Butternut Squash and Honey Soup... delicious! I've eaten so much of it, I've become conscious of reusing all the plastic cartons that it comes in!!! Some have been used for craft storage - they stack really well and you can see whats inside without opening them.
But my favourite reuse for the soup carton has to be
Oswald - an Owl Doorstop... 


Here's how to make your own one...
You will need 

An empty soup carton, enough material to cover it and some felt scraps.
Buttons for eyes, sand or gravel to weight your dorrstop.
PVA glue and a brush to apply it. Super glue.
Scissors, marker pen, needle and thread.
Lay your fabric on a flat surface and use a marker pen to mark the top, bottom and one of the sides of the carton.


Slowly roll ithe carton along the fabric, marking top and bottom as you go and finish with the other side. You should end up with a slightly curved shape as in the picture below.

Draw around the lid of the carton twice and cut out all three pieces.
Turn the carton upside down. Lay one of the fabric circles on top. 

Cut into the circle using small slits, this will help the top to fit nice and snugly.
 Glue into place with pva glue and fold overlapping slits down and glue to sides of carton.
 Cover the sides of carton with PVA glue and glue on the main body piece of fabric. Turn up the right way and fill with sand/gravel/weighty substance. (I use play sand from my local DIY store).
Following the instructions for use, pipe some super glue into the rim of the lid, press on to the top of the carton and allow to dry.


Cover the lid with pva glue and stick on the other fabric circle.
Use a slip stitch in contrasting colour embroidery thread to fasten the bottom to the sides, to conceal the soup carton.

Turn upside down - CONGRATULATIONS! You have just created a nice solid body for your owl... now for the fun part, where your owls charachter starts to be revealed!
Play around with buttons, felt scraps etc to create an owl face that you are happy with.

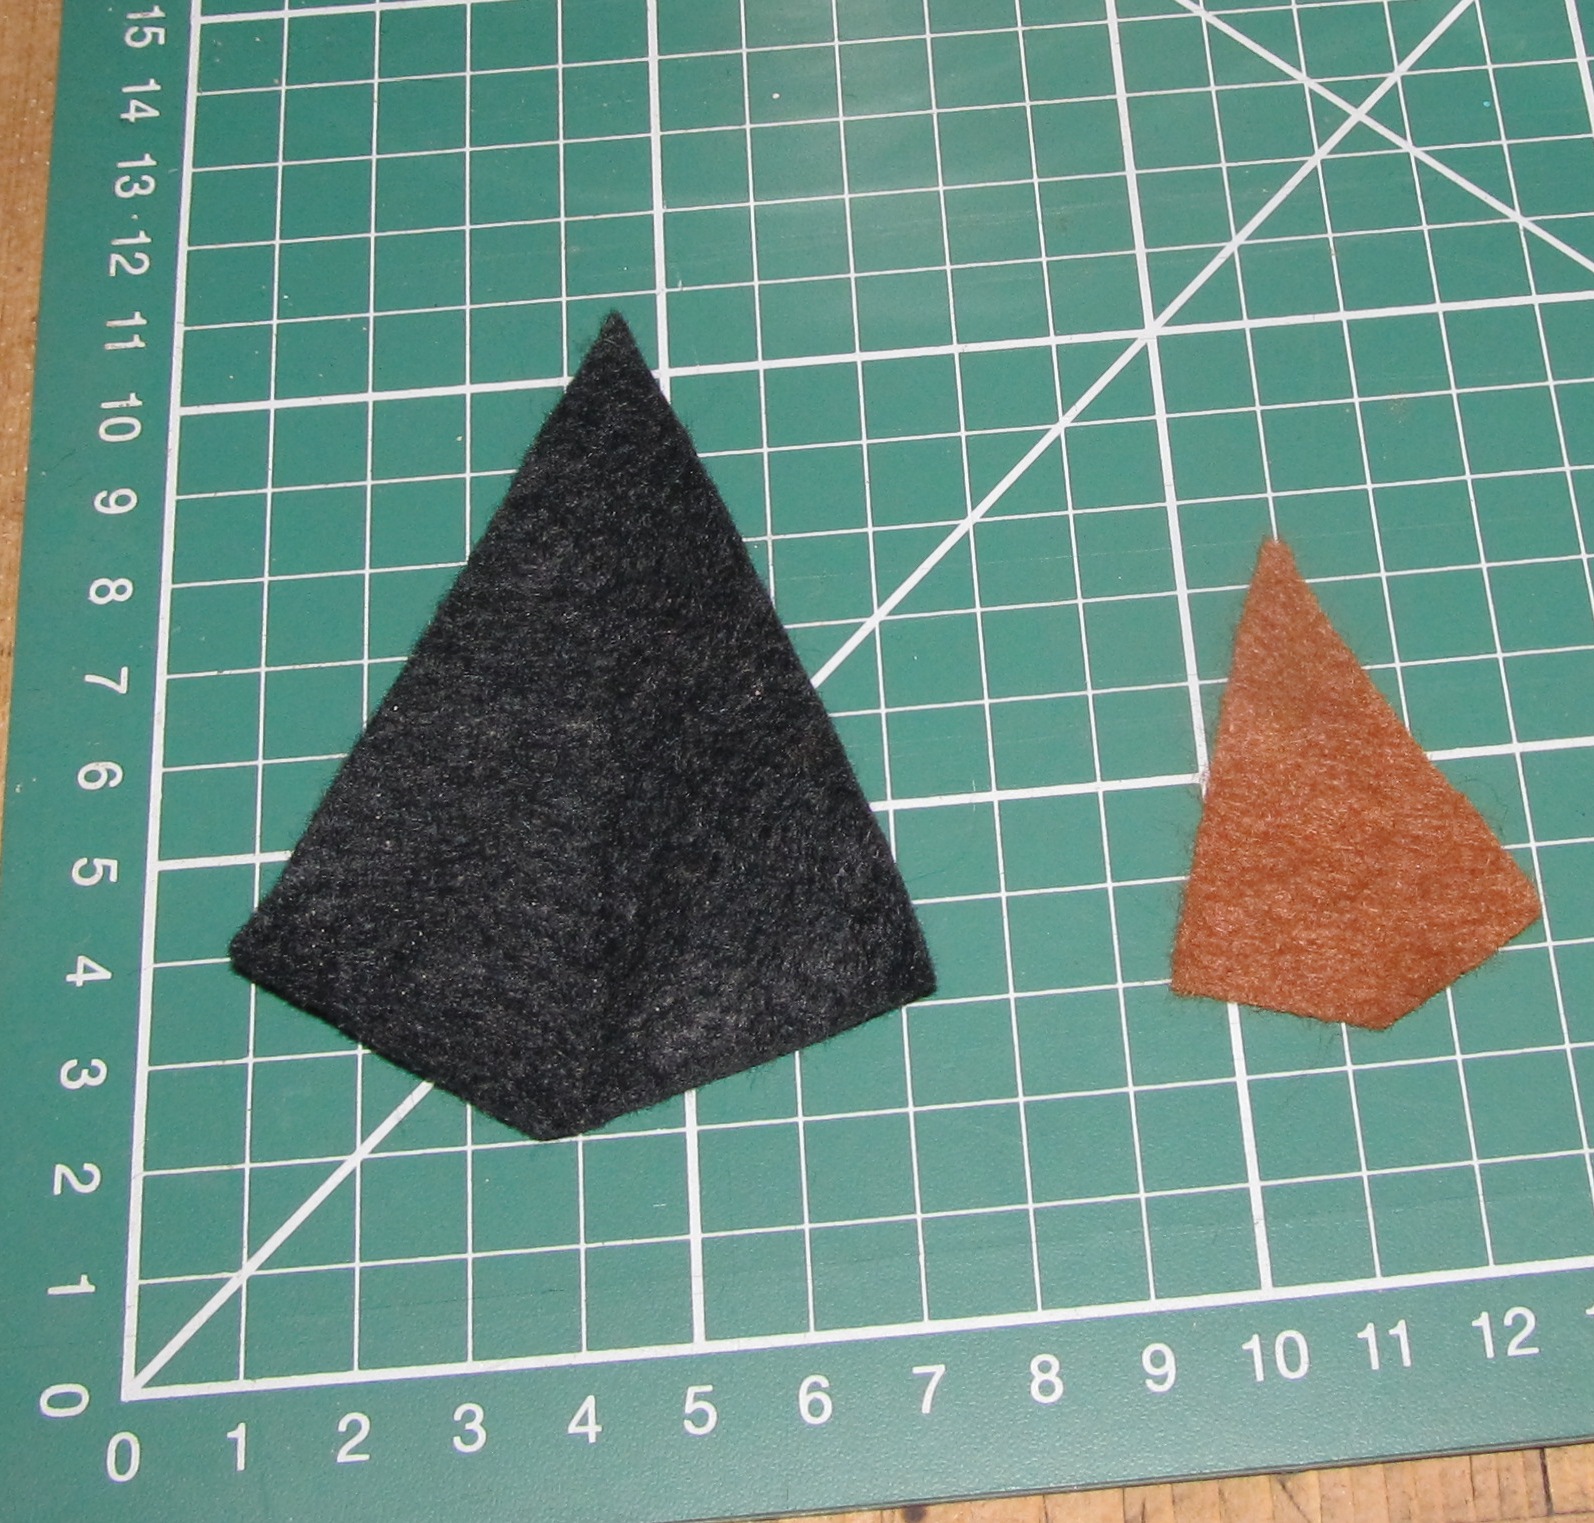
I used buttons for eyes and felt for eyebrows, ears and beak. If you want to use the same shapes as I did then copy the template below.

I cut two large shapes and one small shape from black and tan coloured felt. I then folded the large pieces in half to form the eyebrows/ears.


Then stitch and/or glue the buttons and felt in place and...
you should end up with your own charachter!
(Hope he/she isn't quite as serious as Oswald!!!)
Unfortunately, Oswald is a little too serious for us and he is looking for a more studious home where he can share in intelligent conversation and debate... if you can't live without him, you can buy him from my Folksy shop... just follow this link


Monday, October 31

Note Book Upcycling!


I've been busy making some notebook covers for a craft fair I am doing on December 3rd at The Methodist Church, High Street, Lincoln. It's on the same day as the Lincoln Christmas Fair - if you've never been, I highly recommend it. If you are able to, take the long walk up Steep Hill, many of the shops and houses sell mulled wine and hot chocolate laced with brandy to make the climb up the cobbled hill more bearable! Hopefully, the beautiful vintage carousel will still be there too.
Anyway... back to the notebooks...
You will need:
  • A hardback notebook
  • Fabric remnants - (I've covered some in vintage embroidered napkins, tablecloths, curtains, shirts etc. Cotton is probably the easiest to work with as it is not too bulky)
  • Pins
  • Sewing machine or willing hands!
  • Thread
  • Scissors
  • Rule
  • Buttons, card toppers, stickers, jewellery etc to embellish

Take your notebook and lay it flat onto two pieces of fabric. 
Measure a rectangle around the book, allowing for a 1cm seam allowance all the way around and then also add on 5cms for each flap that will fold in to hold the notebook in place.
Save the trimming scraps, either to make a decoration for the front of your notebook holder or for stuffing another project.
Cut the two pieces of fabric, place their right sides together and pin them together.
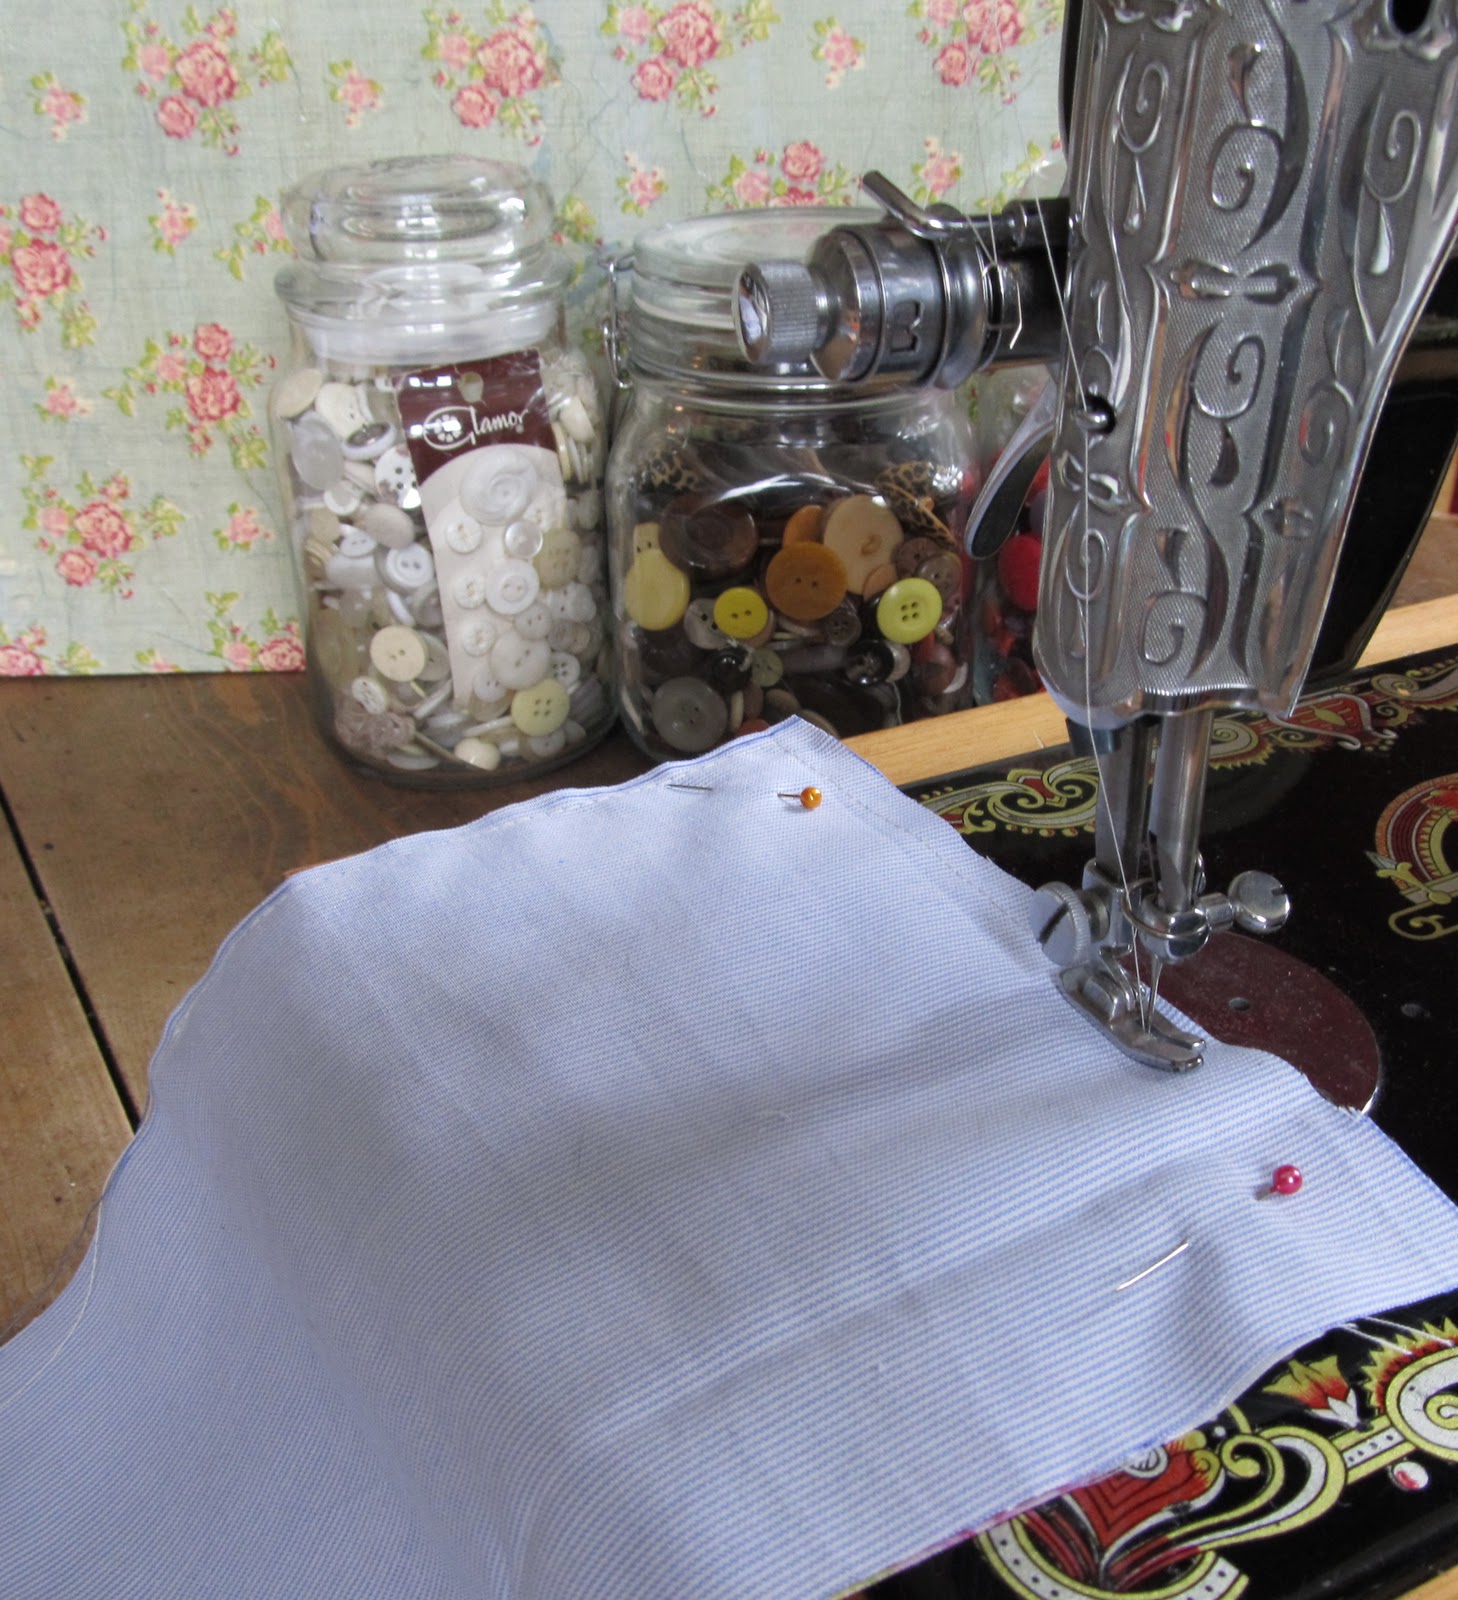
Using either your sewing machine or hand stitch them together, leaving a gap in the middle, on the bottom edge of about 6cms.  

Turn the fabric right side out and press with an iron. Trim off any excess fabric and use chopsticks or a pencil to push the corners right out to get a nice sharp, crisp corner. Hand stitch the gap together. 


Place the notebook in the centre of the fabric, and fold both flaps in. Make sure that you leave a little space for the book to "breathe", by closing the notebook and checking that the fabric is not too tight.

Pin each flap to secure, and carefully remove the notebook.
Sew the flaps at the top and bottom of the cover. Y0ou can either do this by hand as in the picture below or stitch on the machine around the rectangular shape as close to the edge as possible (the brown ones at the top of this post, are made in this way).


Now comes the fun part! Raid your button tin and hunt out some buttons of similar or contrasting colours to your fabric.

Have a play! Try out some different designs with your buttons/buckles/charms/ribbons/beads etc, until you are happy with the design and stitch or glue in place.


  1. Pop the cover over your notebook and you're done!
The possibilities with this project are endless. Experiment with different fabrics: silks, tweeds, shrunken jumpers, sacking etc... etc... Add personalised embellishments such as charms, buttons, badges, etc and create a unique personalised gift for someone.