Pinterest

For unique Bridal and Prom Accessories click on my website below:

Pages

Search This Blog

Sunday, November 6

Vintage Treasures!!!

Visited a car boot sale yesterday and picked up some truly beautiful pieces. I bought some items from a lady whose mother and father had both worked as lace makers in Nottingham... facinating stories... and it was nice to get a little history to the pieces that I bought from her.
I think my favourite find would have to be the stunning, delicate, golden coloured lace, that looks as though it was once part of either a Victorian wedding dress or christening robe.
Now I have to think of something to make from it that will show off its beauty...still thinking!!

Tuesday, November 1

Obsessed with recycling...

I laughed at myself today, when I found myself hanging the fluff from my tumble dryer out in the garden for the Robins to recycle as nest warmers!!!!

Monday, October 31

Note Book Upcycling!


I've been busy making some notebook covers for a craft fair I am doing on December 3rd at The Methodist Church, High Street, Lincoln. It's on the same day as the Lincoln Christmas Fair - if you've never been, I highly recommend it. If you are able to, take the long walk up Steep Hill, many of the shops and houses sell mulled wine and hot chocolate laced with brandy to make the climb up the cobbled hill more bearable! Hopefully, the beautiful vintage carousel will still be there too.
Anyway... back to the notebooks...
You will need:
  • A hardback notebook
  • Fabric remnants - (I've covered some in vintage embroidered napkins, tablecloths, curtains, shirts etc. Cotton is probably the easiest to work with as it is not too bulky)
  • Pins
  • Sewing machine or willing hands!
  • Thread
  • Scissors
  • Rule
  • Buttons, card toppers, stickers, jewellery etc to embellish

Take your notebook and lay it flat onto two pieces of fabric. 
Measure a rectangle around the book, allowing for a 1cm seam allowance all the way around and then also add on 5cms for each flap that will fold in to hold the notebook in place.
Save the trimming scraps, either to make a decoration for the front of your notebook holder or for stuffing another project.
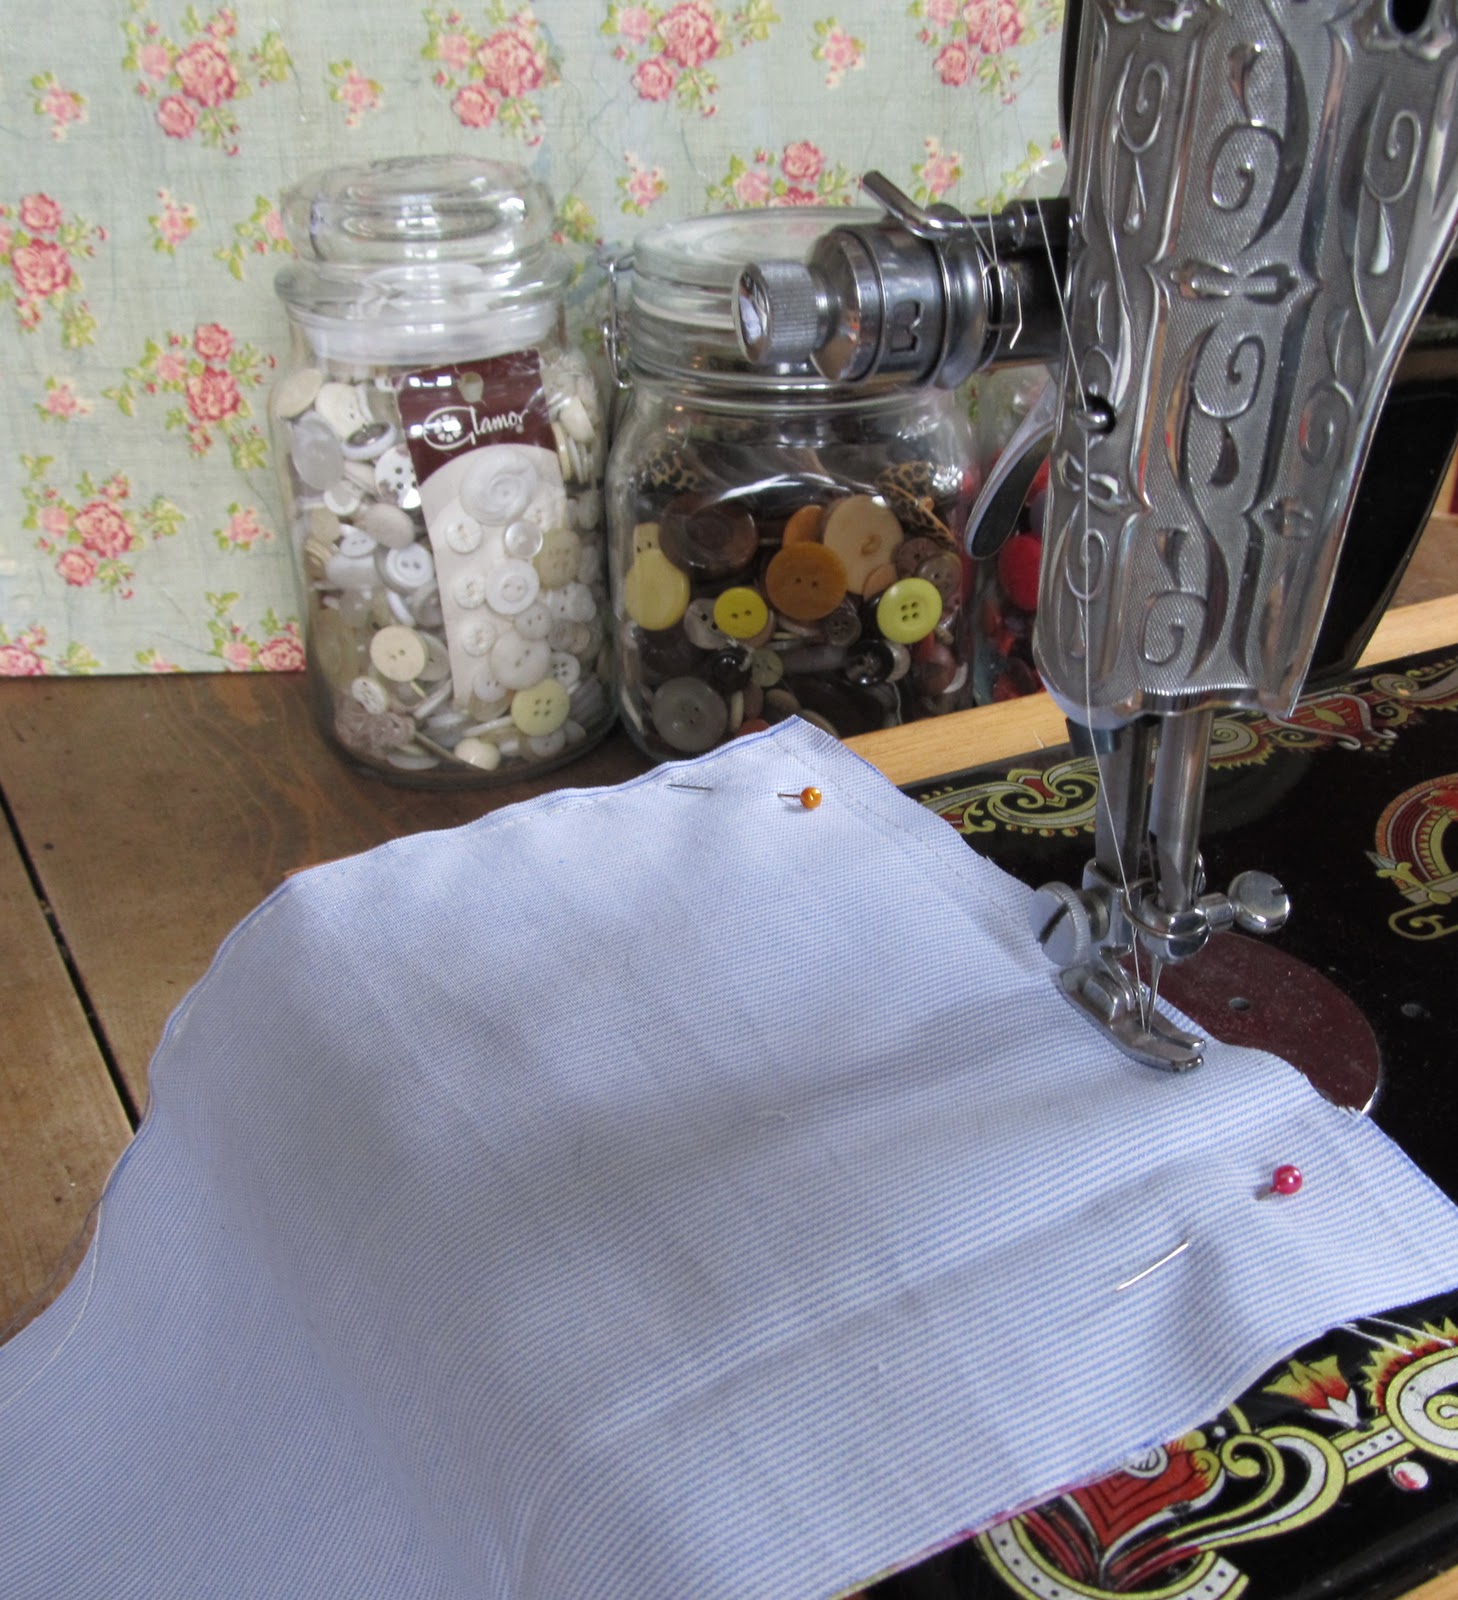
Cut the two pieces of fabric, place their right sides together and pin them together.
Using either your sewing machine or hand stitch them together, leaving a gap in the middle, on the bottom edge of about 6cms.  

Turn the fabric right side out and press with an iron. Trim off any excess fabric and use chopsticks or a pencil to push the corners right out to get a nice sharp, crisp corner. Hand stitch the gap together. 


Place the notebook in the centre of the fabric, and fold both flaps in. Make sure that you leave a little space for the book to "breathe", by closing the notebook and checking that the fabric is not too tight.

Pin each flap to secure, and carefully remove the notebook.
Sew the flaps at the top and bottom of the cover. Y0ou can either do this by hand as in the picture below or stitch on the machine around the rectangular shape as close to the edge as possible (the brown ones at the top of this post, are made in this way).


Now comes the fun part! Raid your button tin and hunt out some buttons of similar or contrasting colours to your fabric.

Have a play! Try out some different designs with your buttons/buckles/charms/ribbons/beads etc, until you are happy with the design and stitch or glue in place.


  1. Pop the cover over your notebook and you're done!
The possibilities with this project are endless. Experiment with different fabrics: silks, tweeds, shrunken jumpers, sacking etc... etc... Add personalised embellishments such as charms, buttons, badges, etc and create a unique personalised gift for someone.

Sunday, October 30

Christmas on a shoestring!


Since resigning from work, money has been tight... so this year family and friends will be getting more than their usual amount of hand crafted gifts from us!


This year it's Christmas on a shoestring ... and Christmas just wouldn't be the same without Aunties Homemade Choca Vodka ... deliciously wicked and a favourite with young and old...


Chocolate Vodka is soooooooooo easy to make!


You will need
  • A half bottle of vodka, (You can use cheap brand vodka for this as it is soooooooooo chocolaty, you wont notice!)
  • 5 Mars Bars (Or other chocolate of your choice - as long as it isn't biscuit based, Mint Aero and Bounty make good alternatives),
  • a dishwasher (or a saucepan of hot water).
Chop the chocolate bars into small blocks and add to the bottle of vodka, (you will need to remove some of the vodka). Screw the lid back on tightly and put through the hottest cycle on your dishwasher. The heat will melt the chocolate.

If you don't have a dishwasher, then put the chopped chocolate bars onto a plate over a pan of boiling water and melt. Then add to the vodka. Give it a good shake and store in the fridge.
Decorate with your own hand made labels and pretty ribbons for a very personal touch.


Thursday, October 20

Top Dog Dickie Bow Ties for dogs...whatever next


Mr Harry Grimwood and I have been to the woods. I thought we were going to collect kindling. He thought we were going to chase pheasants and snuffle.
So, collecting the kindling was left to me. I always feel so at home in the woods, whatever the season, I love the smells and sounds, (almost as much as Mr Grimwood!) and can walk for ages just breathing it all in.
When I young, I found a small copse, off Well Lane - I never saw anyone else there and used to believe that no one else knew about it. I used to lie down on the bluebells and look at the sky through the leaves. It's probably housing now - but I try not to think about that.


It was nippy today, there was a light Autumnal bite in the air and I was glad I'd got the wood burner going that morning, for our return. I spent the rest of the day sewing things for a Christmas Craft fair I'm doing in December

I've had a few orders for my "doggie dickies" and Harry has been kind enough to model them for me.

Seems odd not to be sitting in an office anymore - but since I've been off work, I've been keeping myself busy with my crafts. My "office" nowadays is the kitchen table and has a much more comfortable atmosphere! Plus chocolate cookies are close to hand :-)

Tuesday, August 23

I was going to conquer the world and then I saw something Sparkly!


I have always been distracted by sparkly items and I blame it all on my aunt. When I was at a young, impressionable age she would swan into our home with a blonde beehive 2 ft high, the latest boyfriend/husband!, mini skirt, long talon nails (always polished), two little Chiuauaus and ALWAYS had on sparkly diamonte jewellery. As a child I was transfixed by my glamorous aunt and the colours and shapes of her brooches and am sure that is why (even to this day) I cannot resist one if I see it at a fete, boot sale or antique/flea market!

I love to work with these "heirlooms", and hate to see a brooch discarded purely because it's pin is broken or it has lost a few stones. I have a kind of jewellery hospital in my spare room now, where I store them all away, until I find another, equally beautiful, but damaged piece and put the two together so that they can live on!

I like to "reinvent" pieces - I use necklaces and bracelets for headbands and tiaras and brooches for bridal bouquets and hair combs...


Friday, August 19

Welcome Baby Henry!


Awww! He is so adorable...arrived today... 7lb 4oz... mum and baby doing fine.

I bought him the cutest pair 0f handmade reversable boots...

(made by rachelulabell-artycraftness on Folksy.com)


and couldnt leave William (big brother) out, so he got an owl hat

(made by tasha's handmade, also from Folksy.com)

Tuesday, August 16

Feeling all bridal!!!

I have been busy making some more posies from vintage costume jewellery, buttons and beads. My favourite is this teal and purple one... if you can't live without it, you can buy it from my Folksy shop, Blooming Lovely - just click on the folksy link above.


These two colours go so lovely together I thought I would also gather some fellow Folksies/Etsians items and showcase them on my blog...So let's kit out this teal and purple bride...


Like this lovely bracelet from "Made by Deb" on Folksy


or...


this gorgeous purple facinator from "Jewels by Susan" also on Folksy


For the bridesmaids dresses, it would have to be...


BellaBeanCouture, from Kansas City, as featured on Etsy


The dress, I am undecided...maybe you've got a favourite?

Monday, July 11

Vintage Lace & Diamante Paste Tiara


I found an excellent way of stiffening up vintage lace, so now I can use all the beautiful lace and ribbons I have languishing in my loft, for all manner of things. I used to use a product called petal porcelain which you could turn real flowers, lace and other delicate items into porcelain... but I can't find it anywhere now.

Anyhow...Lots of starch and a secret ingredient seem to do the trick! This piece of vintage cotton trim was just perfect for a 1950's style tiara, and I have added tiny pearls and sewn into place a diamante paste necklace whose chain was broken...way too pretty to throw away!

As always it is a "one of a kind", no other like it in the whole, big, wide, world!!!

Please take a look at my Folksy shop for other designs...and if you have a specific style in mind or maybe a special piece of jewellery that you would like Incorporated into your tiara, then leave me a message and I'll see what i can do for you.

Saturday, May 28

Bollywood or 1920's? You decide...


Thursday, May 26

It's Vintage Daaaaaaaaarling!


Well, the "Monroe" tiara is finished. Unique, the only one in the whole wide world, Just need to find a quirky bride now to wear it! I used vintage buttons and jewellery, pretty roses and beads - the central brooch has deliberately not been wired onto the tiara, so that it can be unpinned and worn as as a keepsake/reminder of the perfect day!


Had great fun making it and think I may have to do another! If you are getting married and you can't live without it...then visit my Folksy shop by clicking on the Folksy link at the top of my blog.


Found an old Sanderson wallpaper catalogue the other day...the classic designs were so beautiful I couldn't send them to the landfill. I covered some wooden bunting with the Suva pattern - pretty humming birds, birds of paradise and flowers in shades of blue...


Wednesday, May 25


I'm feeling all 195o's tonight!! Found a stash of beautiful old vintage buttons, beads and flowers and have decided to make a "Vintage" Tiara... so if you know of anyone who is getting married...going to a prom...or just LOVES tiaras - then please direct them to my Folksy shop where my new creation will be when complete! Have a look at the pic below, to see what I have to work with...


I'm thinking Hollywood...Weiss, Trifari, Sphinx and Exquisite...Watch this space!

Saturday, June 26

We're going to adopt!


Yes, we are going to adopt...a hedgehog... one that's had a bit of a prickly(!) start in life.


I opened our little garden to Sleafords' gardening set today in "Sleaford in Bloom", and one of my visitors suggested that I get a hedgehog to eat my slugs rather than use slug pellets. She said that for every slug or snail I killed, that I probably killed a blackbird too :-( so i have decided to go green and do it natures way.


So now I need to find a hedgehog sanctuary that's looking for a home for a little chap.
Steve wants to call him Dave. We'll see.


Had a great day today at Sleaford In Bloom and it was good to meet and talk to people who are as nutty about flowers as I am! Hope you enjoy the pictures of my secret garden...


Sunday, May 30

Bluebell Wood - A Magical Place!


Look at this beautiful woodland that I stumbled upon last week! There are so many bluebells in this lovely wood that the sunlight reflecting off them seems to make the silver birch look blue too. I had driven past several times and the blue had caught my eye.

Then, the other day driving home from work, lovely sunny day, I decided to take ten minutes and pull over. Down a ditch and up the other side, I peered through and was met with this lovely sight. Took some photo's on the mobile and scurried back to the car. Had to laugh to myself as I got back into the care ...the passing cars must of thought I'd been caught short!
(Changing the subject quickly)... here is the Texas USA version of our bluebell woods... my friends daughter, hanging onto her hat, in a field of blue bonnets

...lovely

Tuesday, May 18

Cath Kidston Giveaway!!!


My first giveaway went so well that I have decided to do one a month now - so this June I have a set of Cath Kidston Memo/fridge Magnets to giveaway. They are large self covered buttons (Just over 3cm diameter), covered in three of Cath Kidstons lovely fabrics.
I love vintage fabrics and repro vintage anything (!) and have been a "Cath" fan for many years - back in the days when she was mail order only - and I never tire of her beautiful prints.
So for your chance to win this giveaway I would like you to "follow" me and let me know about one of your favourite designers on the comments box - or maybe you design vintage fabrics/items yourself? If so I would love to see them - please feel free to add a link to your site in the comments box. I will put all the comments into a box at the end of June and the winner will receive the three memo buttons.
Good Luck...

Sunday, May 16

Hand made wins hands down!

I love anything Parisian and thought I'd share with you all these gorgeous Paris finds from Folksy. All handrcrafted, unique and fabulous!
This really pretty necklace is made by Whimsical Wren - A Vintage postcard print of the Eiffel tower is captured in a picture frame pendant, and adorned with a model Eiffel Tower, a tag which reads "Je t'aime", and two glass flowers - Buy it at http://www.folksy.com/shops/whimsicalwrenjewellery


or how about this charming print - which really catches the charm of a Parisian street cafe...
Buy this and many other lovely prints from Artquirk at http://www.folksy.com/shops/artquirk


Or this cute kitten bracelet - made by Fluffstuffs


Buy it at http://www.folksy.com/shops/Fluffsstuffs


The great thing about all of these lovely items is that they are hand made/crafted and not mass produced. Next time you need to buy a present for someone or a treat for yourself, visit Folksy.com and support hand made


Friday, May 14

Button Necklace Kit - GIVEAWAY!!


This is my first attempt at a blog "GIVEAWAY"!
To win a button necklace kit, all you have to do is become a follower of my blog and I will then put all names into a bag and pick out one lucky winner. (You can also enter if you are already a follower!)
GOOD LUCK!
See below for a button necklace "how to".

Sunday, May 9

YouTube - Everybody's Free (To Wear Sunscreen)

YouTube - Everybody's Free (To Wear Sunscreen)

Sunny, Button, Heaven!

I have thousands of buttons (many of which I could never part with). My husband thinks I am a little OCD with my buttons as they are "catagorised and filed" in accordance with colour, shape and age!
OK. a little obsessive, I admit... but at least I know where they all are when I want to make a button necklace


He took this photo of me in our sunny, button, heaven, garden!

To make your own button necklace, you will need:


  • an assortment of buttons, new, vintage and fabric covered

  • necklace/choker wire with catch

  • florists wire (the finer the better, but strong enough to take a good yank!)


Firstly, lay your choker wire onto a flat surface and play around with the buttons. Decide whether your necklace is going to be a symmetrical or a random lay out. Play around with the buttons until you find the design you like best.


Using the florist wire as thread, "sew" one button onto another and then onto another etc to produce a "stack".

Then taking some more florist wire attach the button to the wire and twist the wire onto the band to where the middle of the next button will lay.
Now you can either use what wire is left to "sew" on the next button or twist a new piece of florist wire to the remaining wire and use that. Repeat this process, until you have all your buttons on the wire. (Use a pair of pliers to squeeze tight, any loose wires that are causing buttons to fall forward, and to turn in any sharp edges towards the buttons back).


I used Cath Kidston Fabric covered buttons in this necklace. You can buy the self cover buttons and cover them with a fabric of your choice.

Voila! Lovvvvvvvvverrrrrly vintage button necklace - a unique piece of jewellery to treasure.

If you can't make one yourself, and can't live without one... you can find them in my Folksy Shop at www.folksy.com/shops/AnnieFloribunda