
I've been busy making some notebook covers for a craft fair I am doing on December 3rd at The Methodist Church, High Street, Lincoln. It's on the same day as the Lincoln Christmas Fair - if you've never been, I highly recommend it. If you are able to, take the long walk up Steep Hill, many of the shops and houses sell mulled wine and hot chocolate laced with brandy to make the climb up the cobbled hill more bearable! Hopefully, the beautiful vintage carousel will still be there too.

Anyway... back to the notebooks...

You will need:
- A hardback notebook
- Fabric remnants - (I've covered some in vintage embroidered napkins, tablecloths, curtains, shirts etc. Cotton is probably the easiest to work with as it is not too bulky)
- Pins
- Sewing machine or willing hands!
- Thread
- Scissors
- Rule
- Buttons, card toppers, stickers, jewellery etc to embellish

 Take your notebook and lay it flat onto two pieces of fabric.
Measure a rectangle around the book, allowing for a 1cm seam allowance all the way around and then also add on 5cms for each flap that will fold in to hold the notebook in place.
Save the trimming scraps, either to make a decoration for the front of your notebook holder or for stuffing another project.
Cut the two pieces of fabric, place their right sides together and pin them together.
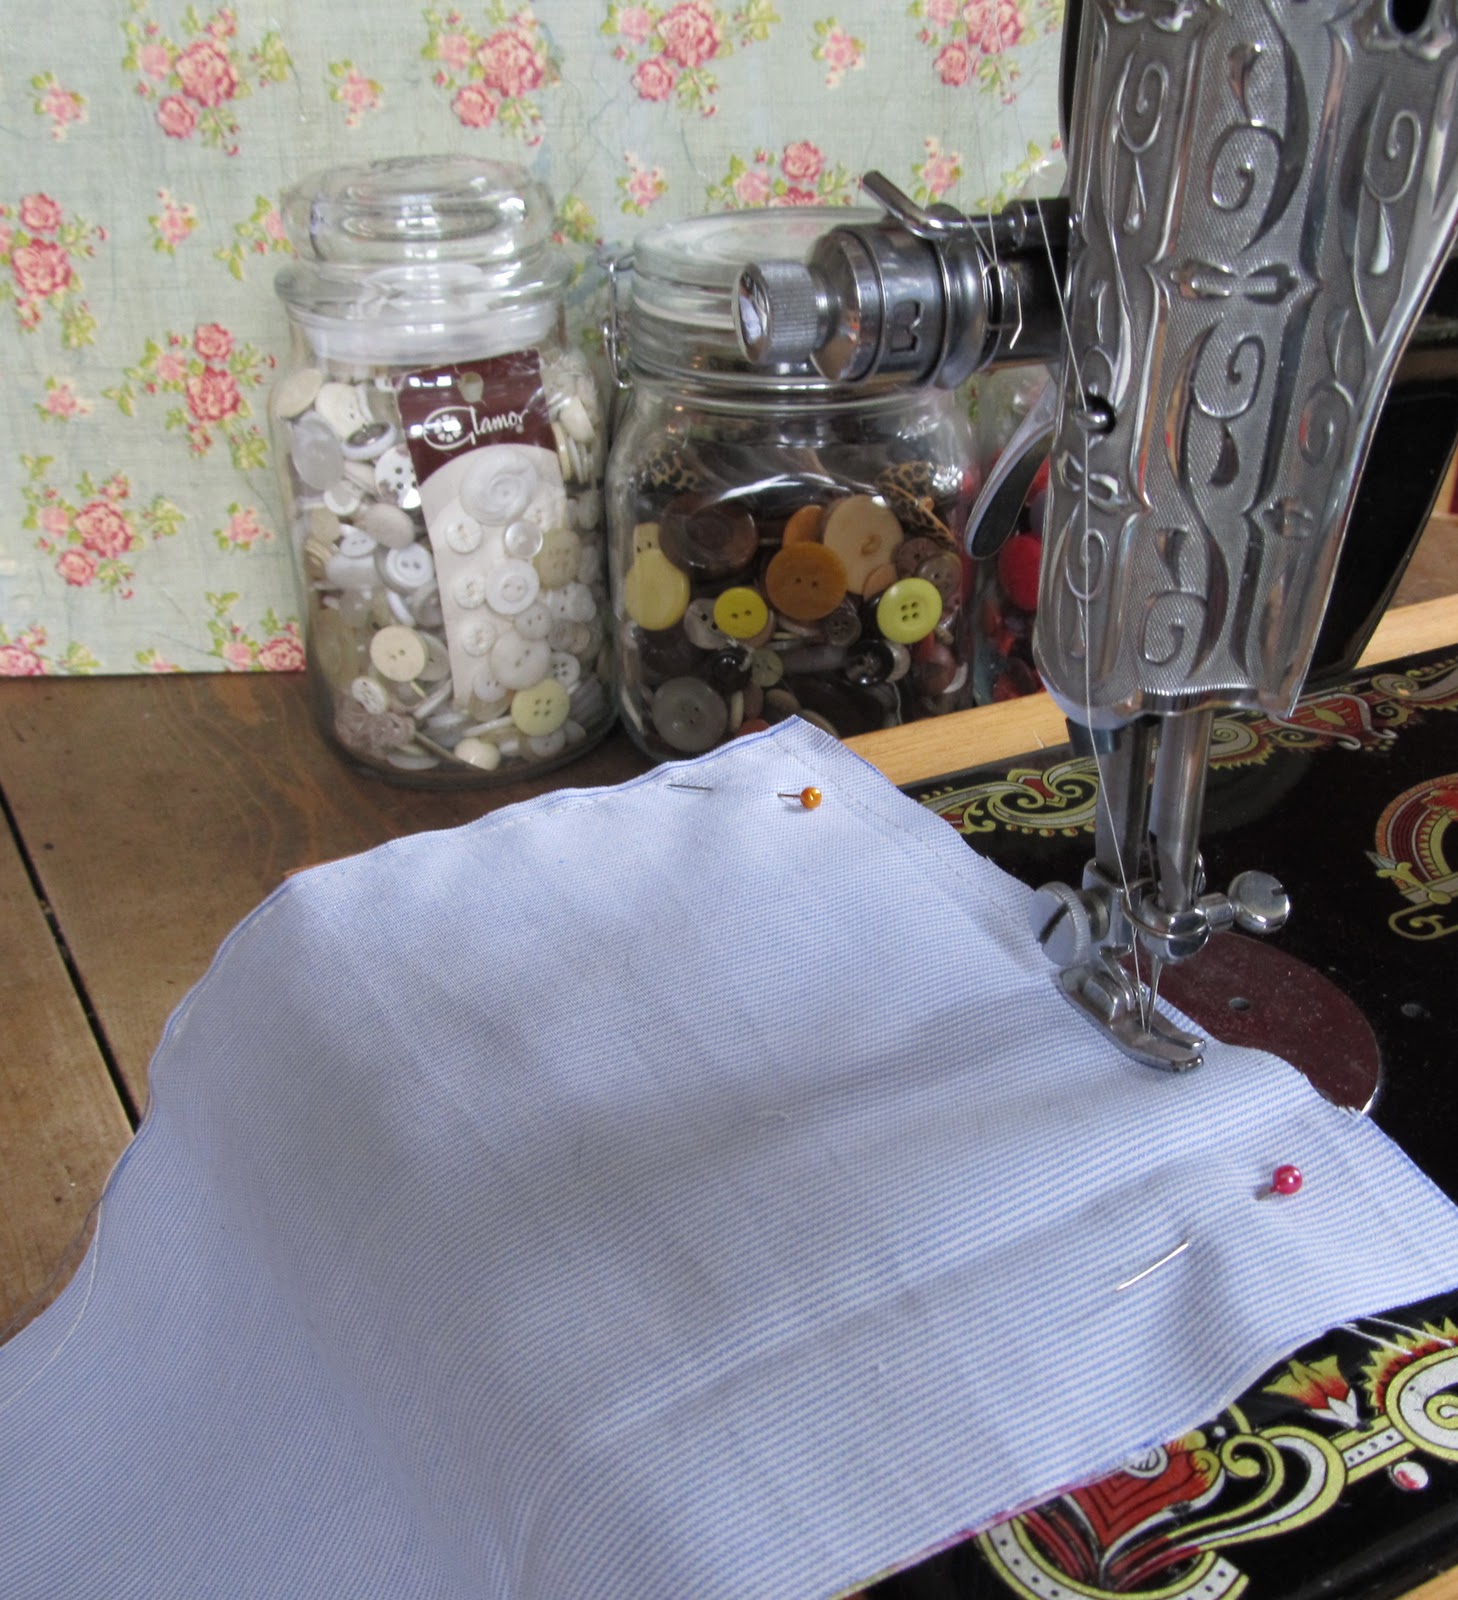 Using either your sewing machine or hand stitch them together, leaving a gap in the middle, on the bottom edge of about 6cms.
Turn the fabric right side out and press with an iron. Trim off any excess fabric and use chopsticks or a pencil to push the corners right out to get a nice sharp, crisp corner. Hand stitch the gap together.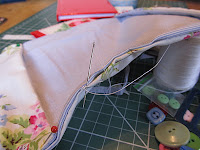

Place the notebook in the centre of the fabric, and fold both flaps in. Make sure that you leave a little space for the book to "breathe", by closing the notebook and checking that the fabric is not too tight.
 Pin each flap to secure, and carefully remove the notebook.
Sew the flaps at the top and bottom of the cover. Y0ou can either do this by hand as in the picture below or stitch on the machine around the rectangular shape as close to the edge as possible (the brown ones at the top of this post, are made in this way).

Now comes the fun part! Raid your button tin and hunt out some buttons of similar or contrasting colours to your fabric.
Have a play! Try out some different designs with your buttons/buckles/charms/ribbons/beads etc, until you are happy with the design and stitch or glue in place.
- Pop the cover over your notebook and you're done!


The possibilities with this project are endless. Experiment with different fabrics: silks, tweeds, shrunken jumpers, sacking etc... etc... Add personalised embellishments such as charms, buttons, badges, etc and create a unique personalised gift for someone.


great tutorial!
ReplyDeleteThanks Crystal Velvet! Got to get used doing them now as have been asked to take a few craft classes in Lincoln - scaaaaaaary! Annie
ReplyDelete