Pinterest

For unique Bridal and Prom Accessories click on my website below:

Pages

Search This Blog

Friday, August 31

Sunflowers

Helping out a freind in his florists the other day and wanted to share these beautiful, vibrant sunflowers with you... even with the rain pouring down outside, you look at these and you are immediately transported to a sunny day!


Monday, August 27

"Just Wed'" Shabby Chic Vintage Sign

 Thought you might like to see the latest addition to my bridal crafts ...
A "Just Wed" wooden plaque in palest of greens and  (Laura Ashley) Chalk Pink paint
Vintage lace and tiny embroidered flowers frame the words :-)
And the white wire hanger has been fashioned into a small heart at one end and sprial at the other - ready to hang on the honeymoon suite!!
£ 9.95
 

Wednesday, August 22

Tea drinking...an essential part of this tutorial...

Sorting through all the craft cupboards and drawers (again!),
I found a box full of pretty lace.
All vintage, some antique, nearly all of them cotton.
Seems a shame for them to be boxed away and so I wanted to make something that used up even the tiniest of pieces.

Decided on bunting - this would look particularly good at a vintage wedding... Buy it from my shop at www.anniefloribunda.com or make your own -
Here's how I did it...

First, I sorted through the bits and pieces to see what I had and "played" around with them. I then decided to cut some cotton triangles and arrange the lace on each pennant (triangle). I decided to leave the edges rough so that they would fray naturally over time and give a nice vintage feel to them.


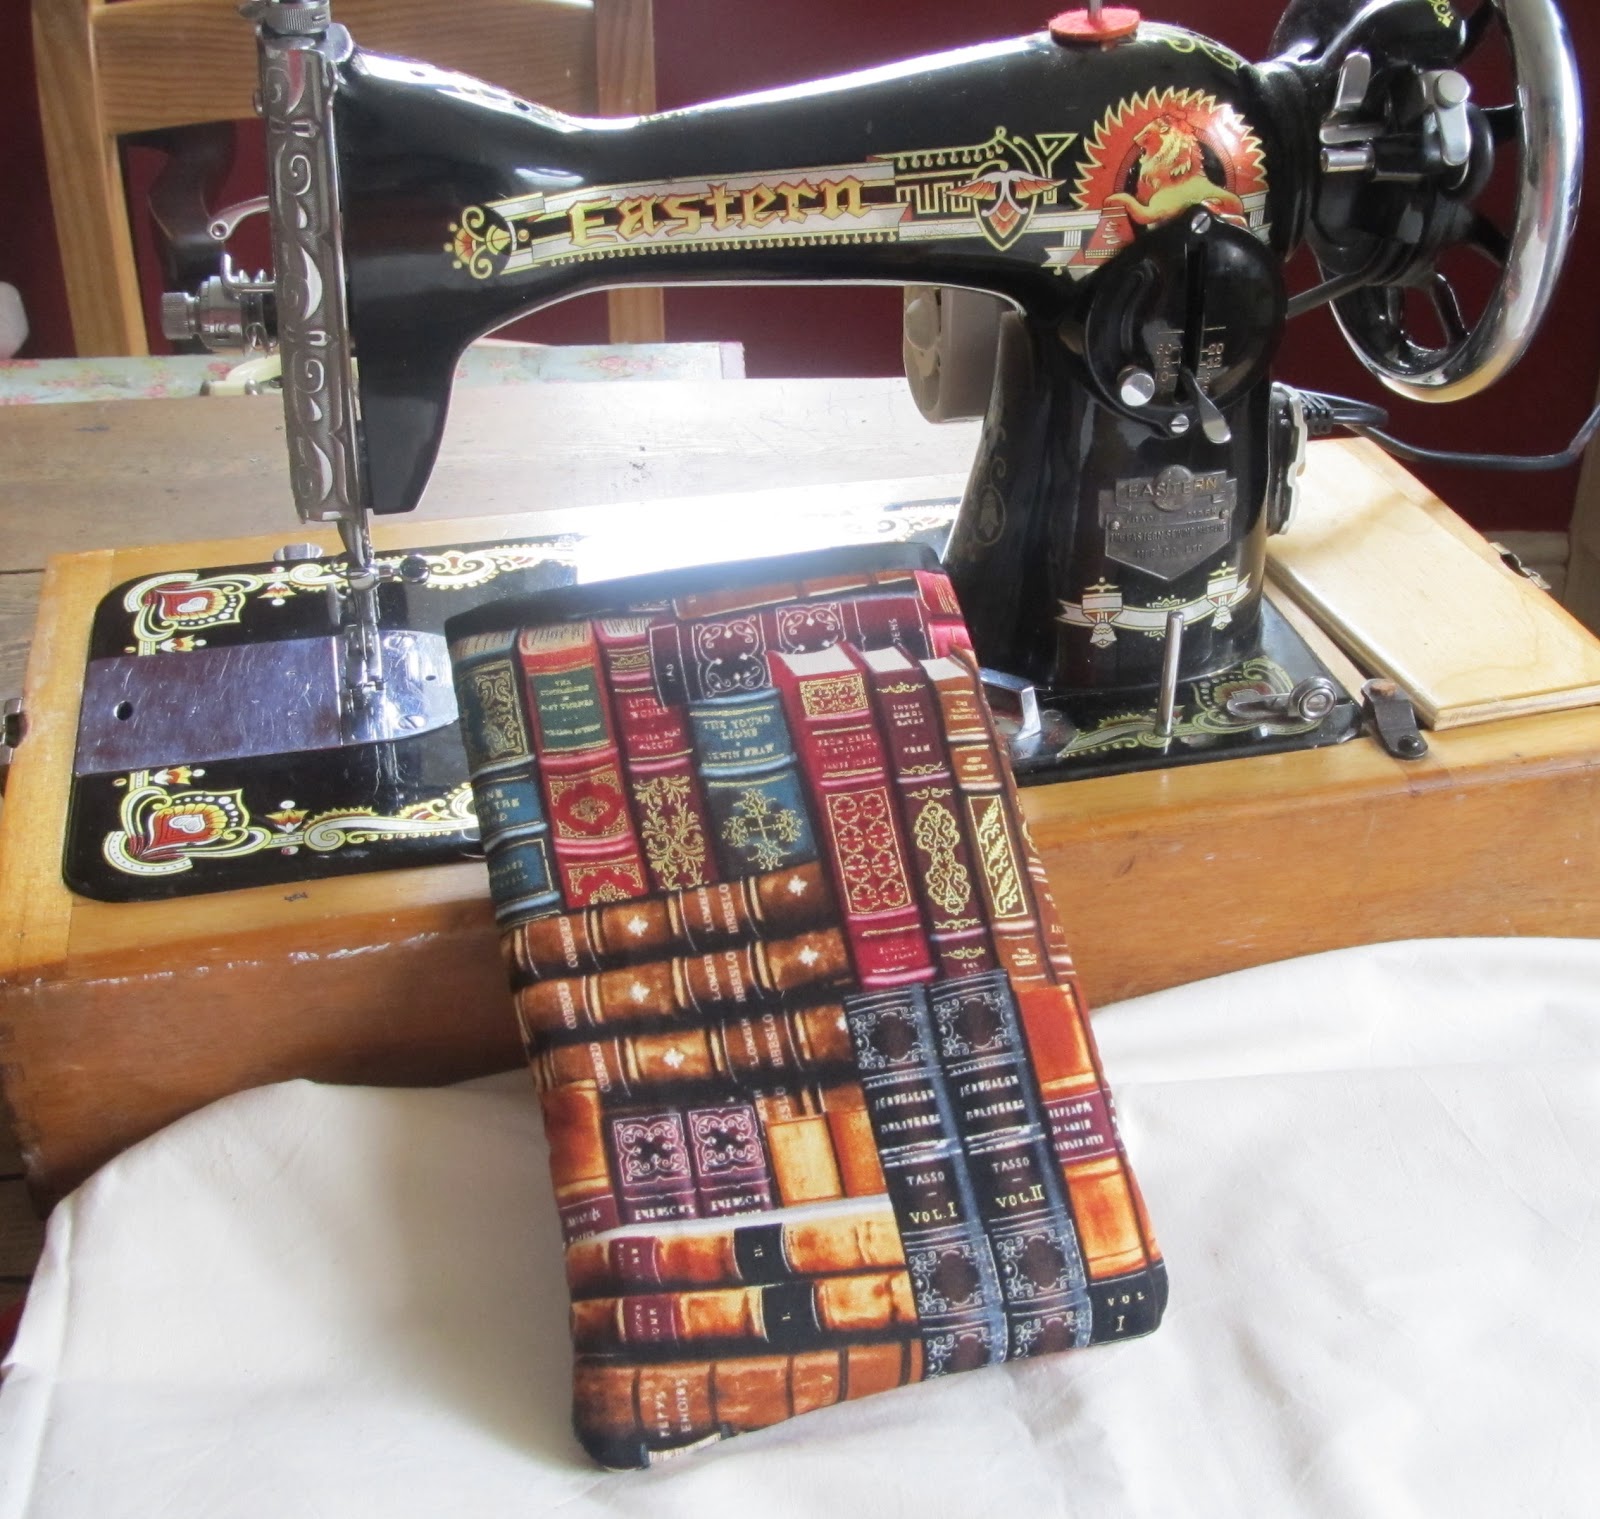
I used Gloria to stitch the lace randomly onto a cream cotton triangle.


I ended up with a selection of lace decorated pennants but
some of the lace was a lot whiter than the rest.

I decided it was time for a tea break (an essential part of this bunting making process, as you will see later on).

I enjoyed a cuppa and large slice of lemon cake
- (please note: the lemon cake is not an essential part of the process,
but was very nice!).
I decided to use some pretty floral bias binding I'd bought along the top to hold the pennants in place - but you could use any fabric cut on the bias, ric rac or ribbon.
Using the tea bag I'd made my cuppa with earlier,
(see, I told you it was essential :-)
I added it and about a pint of boiling water to a bowl and left it to steep.
I then added each pennant with a spoon and stirred
to ensure that they were all coated evenly.
After about 15 minutes the desired tea stain effect was achieved.

Each pennant was rinsed in cold water and hung on the line to dry. As you can see from the photo, there are no white bits now and the tea also gives the bunting a nice vintage look.

 
I folded and pressed the bias binding I had as in the picture above

 
If you're feeling lazy and you dont want to get the ironing board out, use your hair straighteners instead - works just as well!!
 
Then i stitched buttons, flowers etc onto each pennant and lay the top of the pennant in the middle of the binding and pinned in place. I stitched straight along the binding, making sure that all pennants were caught at the top.
 
This is what you should have as a finished result.


 This tutorial was interupted by the arrival of Mr & Mrs Sweeny, an intake of my delicious chilli with alcohol, folowed by a chat about IPhones, secret words and world politics :-)


Saturday, August 18

Kidstonesque???

Just finished my "Kidstonesque" Kindle cover today
Not one of her fabrics but, nevertheless a beautiful, floral 100% cotton,
padded inner and cream cotton lining.

Gorgeous Gloria was thrilled at how this one came out
and even Mr Harry Grimwood passed it in quality control!

After photographing it, I think it may need some button embellishment ...

My Gorgeous Gloria & her kindle case.


Friday, August 17

Kindle Vs Good Old Fashioned Book...

Whilst the Kindle is lightweight and can hold hundreds of books in a tiny space - it still doesn't do it for me.
I like the hunt for a good book through all the secondhand shops...
and the pure joy when you find one you've been hunting out for ages.

I think if I did give in to a kindle - I would also have to read the conventional way too...
besides, I think I'd miss holding the book, turning the pages... and how do you cosy up by the fire with a Kindle - it just doesn't sound right!

Anyway, as plenty of people have them (and not being one for missing an opportunity!), I've decided to make some holders for them. 
Glorious Gloria and I made this one today...
Glorious Gloria, showing off her new make

It is the first one we've made - a prototype which I shall probably give to one of my family or freinds as it's not quite perfect enough to sell.
(Mr Harry Grimwood is very strict in quality control).
I really want to have a go at making one from an old book too, by carving out a shape in the pages for the Kindle - just not sure if I can justify cutting up a book!!!
What do you think? Are you a Kindler or traditionalist??!!!

Lucky Sew n Sew

Had to share a pic' of this little gem I picked up yesterdy on my treasure hunt.
A small metal sewing machine (that looks a bit lijke Glorious Gloria)
Never again shall I be in need of a sharp pencil, as it not only looks fab, it's a pencil sharpener too

... easily pleased!

Thursday, August 16

Mug, Rug and a Hug..


Whilst searching through my fabrics today, I came across these lovely patchwork squares.

The trouble is, when you buy these pre cut squares they always seem to be missing the bits of the design that you want. In this fabric it had beautifully ornate cups and saucers and another piece had an elephant on that was missing his trunk! So I couldn't use them for applique :-(

I decided to patch them all together as they all had an "Indian" feel to them and decided to make something to do with Indian tea with them.


So Glorious Gloria, the sewing machine came out
and I stitched them together, and cut, and sewed...


and cut and sewed.... and came up with a mug rug and a mug huggie too...

 Added a nice, red, vintage button to fasten...


I think I shall look for a tin to fit them both in, add a few delicious home baked biscuits and a pack of some fine Indian tea and give it as a Christmas present this year...
plenty of my family and freinds are tea lovers <3 font="font">


Saturday, August 11

My new hang up - pure indulgence for the vintage bride!

I bought this beautiful Victorian lace from a lady whose parents worked in the Nottingham lace factories in the 1940's.
Not sure if this is Nottingham lace - it looks very French to me...
palest of gold in colour and intricate tiny lacework details - absolutely stunning!
Anyway, I have a lot of this and it's all stored in a box and not getting admired, so I decided to make something beautiful with it.
I decided to make a very special hanger for a very special dress. Afterall, we can spend hundreds of pounds on beautiful wedding dresses, so don't they deserve a little preferential treatment in the wardrobe?
 Just look at the amazing detail in that lace - must have taken an age to make!
 I've added mirror backed, mother of pearl and metal buttons
from the Victorian era through to the 1950's
 Handle is bound in gold satin ribbon and finished with small vintage leaf brooch.
If you can't live without it - it will be in my folksy shop later at

Peg painting...

For most of today I have been enjoying my small garden in the sunshine and also painted some dolly pegs... not really sure what for yet...but a few ideas ticking away up here! Watch this space for their transformation into something quite delightfully shabby chic!!!